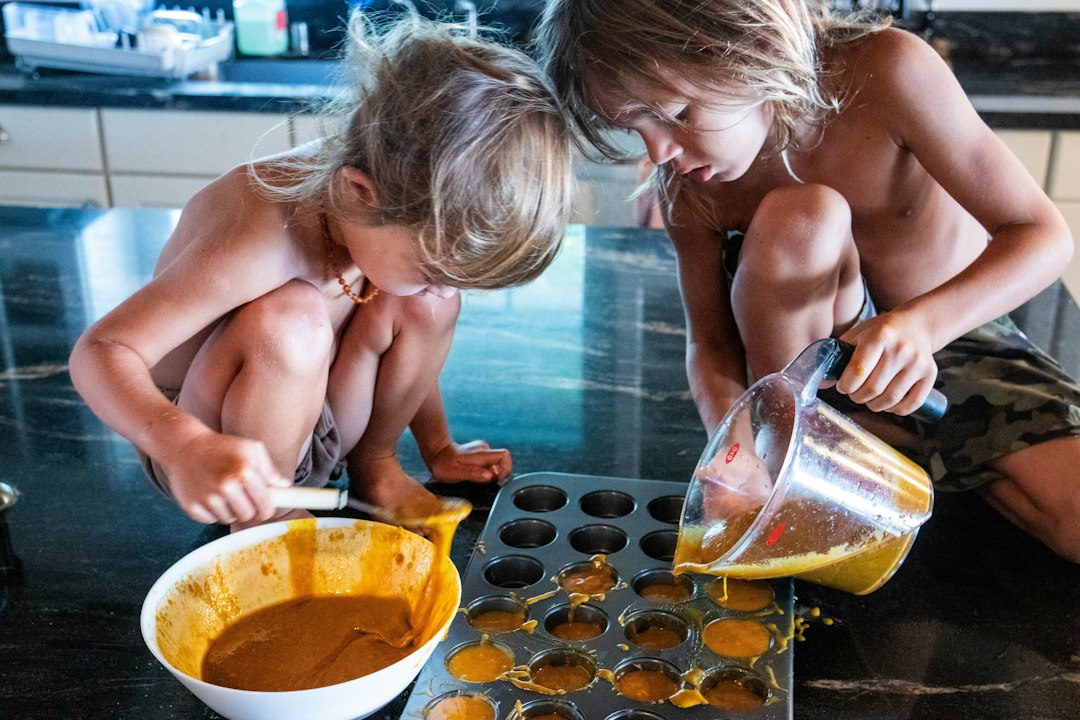
There’s something deeply satisfying about making frozen treats from scratch, especially when small hands are helping you pour, stir, and taste along the way. Beyond the obvious joy of ending up with something delicious, creating frozen desserts at home with children offers a surprisingly rich mix of learning moments, creative exploration, and shared time together. Whether you’re blending fruit into popsicles on a warm afternoon or experimenting with your own ice cream flavors, the kitchen becomes a laboratory where kids can see simple ingredients transform into something completely new. It’s a hands-on lesson in patience, measurement, and the science of cold, all wrapped up in the kind of activity that feels more like play than work.
Why Frozen Treats Are Perfect for Making Together
Making frozen treats strikes a rare balance between simple enough for young children to participate meaningfully and interesting enough to hold their attention. The ingredients are usually straightforward – milk, cream, sugar, fruit, yogurt – things you likely already have or can easily find. The process doesn’t require advanced cooking skills or dangerous heat sources, which means even preschoolers can measure ingredients, pour liquids, and help mix without constant worry about burns or cuts.
What makes this activity particularly valuable is how naturally it teaches foundational skills without feeling like a lesson. When children measure out half a cup of berries or count how many popsicle molds they’re filling, they’re practicing math in a context that makes sense to them. Kid-friendly frozen summer treats can introduce concepts like fractions, volume, and even basic thermodynamics as you explain why the mixture needs to get cold to become solid. Following a recipe sequence helps with reading comprehension and understanding cause and effect. And the payoff is immediate and tangible in a way that abstract worksheets simply aren’t.
The waiting period while treats freeze also offers its own teaching moment about delayed gratification. Children learn that some good things take time, and checking the freezer every ten minutes won’t speed the process along. That anticipation builds excitement and makes the final reveal feel earned.
Getting Started: Equipment and Ingredients
You don’t need specialty equipment to begin making frozen treats at home. Simple popsicle molds, ice cube trays, or even small paper cups with wooden sticks work perfectly well for frozen fruit pops and similar treats. For ice cream and more complex frozen desserts, an ice cream maker can be helpful, though it’s not essential for every recipe.
If you do choose to use an ice cream maker, understanding how it works adds to the learning experience. These appliances work by churning the ice cream base while it freezes, which incorporates air and prevents large ice crystals from forming, resulting in a smoother, creamier texture. Many home models have a double-insulated freezer bowl that needs to be frozen for at least half a day before use, so planning ahead is important. The churning time for most home ice cream makers typically runs between twenty to thirty minutes, depending on the model and recipe. If purchasing one interests you, prices can range from around thirty dollars for basic models to over three hundred dollars for high-end versions with built-in compressors.
Without an ice cream maker, you can still make wonderful frozen treats using what’s called the freezer bag method, where you shake ingredients in a bag surrounded by ice and salt, or simply by freezing a mixture in a container and stirring it periodically to break up ice crystals. These manual methods take longer – often several hours rather than minutes – but they involve children more actively in the physical process and demonstrate the science behind freezing more clearly.
The more you do with your kids, the richer the ground you’re preparing for them.
– Fred Rogers
Simple Recipes That Teach and Delight
Starting with fruit-based frozen treats offers the lowest barrier to entry and the most room for creativity. Frozen fruit pops can be as simple as blending fresh or frozen fruit with a bit of juice or yogurt, pouring the mixture into molds, and freezing. Children can choose their own fruit combinations, creating personal recipes that feel uniquely theirs. Layering different colored fruit purees teaches about colors mixing and creates visual appeal.
Yogurt-based frozen treats offer similar simplicity with added protein and probiotics. Mixing yogurt with honey, vanilla, and fruit chunks, then freezing in cups or molds creates a healthier alternative to store-bought ice cream bars. Kids can customize their creations with toppings like granola, chocolate chips, or coconut flakes pressed into the mixture before freezing.
For slightly more advanced projects, making ice cream from scratch introduces children to how ingredients transform through temperature and motion. A basic vanilla ice cream requires only heavy cream, whole milk, sugar, and vanilla extract. Watching cream and milk become something solid and scoopable feels almost magical to young minds. You can build on this base recipe by letting children choose mix-ins like crushed cookies, fresh fruit, or candy pieces.
Experimenting with texture variations teaches observation and comparison skills. Easy frozen treats made with kids can range from smooth and creamy to icy and granular, depending on the ingredients and method used. Children learn to notice these differences and develop preferences, building their vocabulary around texture and taste.
The Science Hiding in the Freezer
Every frozen treat you make together offers a window into basic scientific principles. The process of making ice cream at home often involves understanding fundamental concepts about how cooling affects the state of matter. When you explain that liquids become solids when cold enough, or that salt lowers the freezing point of ice and makes it colder, you’re introducing thermodynamics in language children can grasp.
The act of churning demonstrates how mechanical action changes physical properties. When you explain that stirring breaks up ice crystals before they can grow large and icy, children begin to understand that you can physically alter outcomes through action, not just through changing ingredients. This principle extends far beyond the kitchen.
Temperature gradients become visible when you layer different colored mixtures in clear molds. Children can watch how the first layer needs to partially freeze before you can add another without them mixing together. Time, temperature, and patience all become tangible rather than abstract.
Making It a Regular Ritual
The beauty of frozen treat making is its flexibility across seasons and skill levels. While summer naturally invites cold desserts, winter offers its own opportunities – making ice cream with seasonal flavors like peppermint or creating frozen hot chocolate pops. The activity grows with your children. What starts as simple fruit pops for toddlers evolves into more complex flavor experiments for older kids who can read recipes independently and make mathematical conversions.
Creating a tradition around frozen treat making gives children something to look forward to and builds positive associations with cooking and kitchen time. Maybe Friday afternoons become popsicle-making time, or perhaps each child gets to choose a frozen dessert recipe for their birthday month. These rituals create shared family stories and give children ownership over family traditions.
Documenting your frozen treat experiments in a journal or photo album lets children track their learning and creativity over time. They can write or draw their favorite recipes, note what worked and what didn’t, and build a personal cookbook that reflects their growing skills and changing tastes.
Last Thoughts
Making frozen treats at home with children offers far more than just a sweet ending to a meal. It’s a gateway into understanding how ingredients work together, how temperature transforms matter, and how patience and process lead to satisfying results. The kitchen becomes a place of discovery rather than just production, and children learn that they’re capable of creating something from simple components and their own ideas. These aren’t lessons delivered through lectures or worksheets, but through doing, tasting, adjusting, and trying again.
The treats you make together won’t always turn out perfectly. Sometimes the texture will be too icy, or the flavor balance will be off, or someone will forget the mixture in the freezer until it’s rock solid. But those imperfect outcomes teach resilience, problem-solving, and the understanding that cooking is an iterative process where mistakes are just information for the next attempt. The real value isn’t in producing flawless desserts every time, but in the time spent together, the skills built incrementally, and the confidence children develop knowing they can make something delicious with their own hands.
Your Questions Answered
What age can children start helping make frozen treats?
Children as young as two or three can participate meaningfully in making frozen treats by pouring pre-measured ingredients, stirring mixtures in bowls, and helping push fruit pieces into molds. As they grow, their responsibilities can expand to measuring ingredients, reading recipe steps, and operating equipment with supervision. The key is matching tasks to their developmental stage and motor skills, ensuring they can contribute successfully without frustration.
How long do homemade frozen treats typically last in the freezer?
Most homemade frozen treats maintain their best quality for about two weeks in the freezer, though they remain safe to eat for several months if stored properly in airtight containers or well-sealed molds. The texture may change over time as ice crystals form, especially in treats without stabilizers or commercial additives. Fruit-based popsicles generally hold up better than dairy-based frozen desserts over extended storage periods.
Can we make frozen treats without added sugar?
Absolutely. Naturally sweet frozen treats can be made using ripe fruits like bananas, mangoes, or dates as the primary sweetener. Blending frozen bananas alone creates a creamy, ice cream-like texture without any added sugar. You can also use small amounts of honey, maple syrup, or pureed dates to add sweetness while avoiding refined sugars. The key is using fruits at peak ripeness when their natural sugars are highest.
What’s the easiest frozen treat for beginners to start with?
Fruit juice or smoothie popsicles represent the simplest entry point. Simply pour juice or a blended fruit smoothie into popsicle molds or small cups, insert sticks, and freeze. There’s no cooking, no complicated techniques, and very little cleanup. Children can choose their own juice flavors or fruit combinations, and the process from start to frozen treat takes just a few minutes of active work, making it perfect for short attention spans.
Do we really need special molds to make frozen treats?
Not at all. While popsicle molds are convenient and reusable, you can make frozen treats in ice cube trays, small paper cups, silicone muffin cups, or even empty yogurt containers. For sticks, you can use wooden craft sticks, plastic spoons, or nothing at all for treats you’ll eat with a spoon once they’re frozen. The container simply needs to be freezer-safe and sized appropriately for small hands to manage once frozen.